It's this time of the year again. I have done some other stuff too but as I'm lazy blog updater this will be the only one... Until next time.
Tuesday, October 10, 2017
Friday, April 8, 2016
Something from 2016
Here's something I decided to draw. It started as a simple character sketch but I decided to add background and stuff even though I wasn't very happy with the character yet. Also her weapon and cloth designs are something... well I don't know. Crap maybe? :D Now I can once again leave the blog to rot until I get something done and find time to upload it. :)
 |
| I'd look behind myself if I was her. |
Monday, September 9, 2013
Rat turntable
Ratonga turntable from Jarmo Wallenius on Vimeo.
There you go. I finally managed to put this together. Haven't had time for making animations yet. But someday... maybe.
Tuesday, September 3, 2013
Project Cartoon Rat
Hmmh... I've been quiet for quite a while it seems. But surprisingly I haven't been sitting around doing nothing. Instead I started a new character project. This was inspired by Everquest Next. I wanted to see how the ratonga would look in the new game, but they didn't show anything of them so eventually, one evening I opened Photoshop and quickly (well, it took longer than I want to admit) drew the image on the left in the pic down there \/
Next I messed around in Zbrush and managed to build something that looked good enough in my opinion. (At least if considering the quality of my concept "art") I did retopoing in Blender and then threw the model back to Zbrush to sculpt some details and to create simple diffuse map. I decided to keep the model quite simple texture-wise, though I may add some more details later. Or try to add 3d fur. Or something.
Anyway, I didn't want to have a naked rat running around so I designed some clothes for him. Or armor to be exact.
After that I started baking textures furiously. Some bakes were less than successful and some were horrible. But some were good enough after some photoshopping and I finally got all textures baked.
So after slamming all this together, here is the outcome:
But characters without rigs aren't very interesting, so I decided to build a rig too.
So there it is. I also build a simple face rig for him. He wasn't very happy about it, though.
He was a bit happier in his test pose.
So, now I only have to make some animations with him. We'll see when I find time for that.
I also modeled him a sword. I hope he doesn't hurt himself with it.
 |
| How rats are made. |
Next I messed around in Zbrush and managed to build something that looked good enough in my opinion. (At least if considering the quality of my concept "art") I did retopoing in Blender and then threw the model back to Zbrush to sculpt some details and to create simple diffuse map. I decided to keep the model quite simple texture-wise, though I may add some more details later. Or try to add 3d fur. Or something.
Anyway, I didn't want to have a naked rat running around so I designed some clothes for him. Or armor to be exact.
 |
| Rat's armor progress |
After that I started baking textures furiously. Some bakes were less than successful and some were horrible. But some were good enough after some photoshopping and I finally got all textures baked.
 |
| All maps are 2048x2048. |
 |
| Should I censor the ones on the right? |
 |
| Some bones are for armor parts. |
 |
| Best moment when building a face rig is when you get it finished and get to try it out. :) |
 |
| Whee! |
I also modeled him a sword. I hope he doesn't hurt himself with it.
 |
| He felt insecure so I had to give him one of these. There's room for a scabbard on the sword's uv layout. Maybe I get that done too, eventually. :) |
Wednesday, May 15, 2013
Nature Academy Part 1
I took part in Blender Guru's Nature Academy online training course. Nature Academy It concentrates, as the name suggests, in creating realistic nature scenes in Blender. I've learned some quite useful new tools and also learned to do compositing in Blender which I haven't really done before.
Due to school projects I haven't managed to finish every course in time, but luckily that isn't a problem since all the tutorials can be viewed at any time. There's also rather good collection of pre-made objects to use to add more variety your scenes, although I prefer to model my own.
Anyway, here's the results so far :) I'll post part 2 once I have time to complete rest of the course.
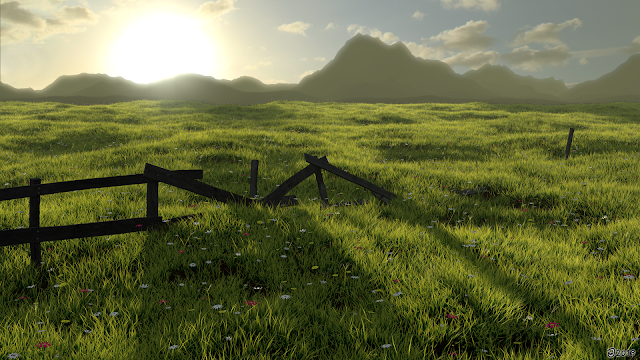 |
| Grassy field. Practiced using hair particles to create grass. |
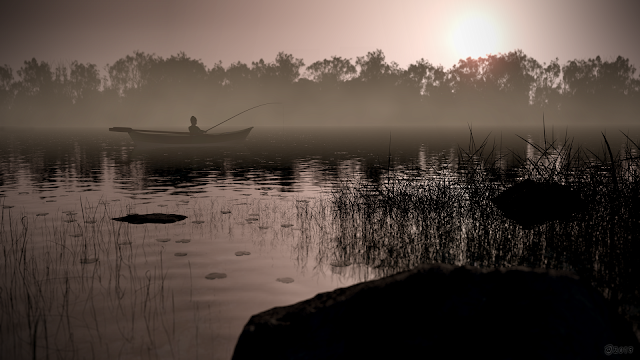 |
| Gone fishing. Fog effect and ripply water surface |
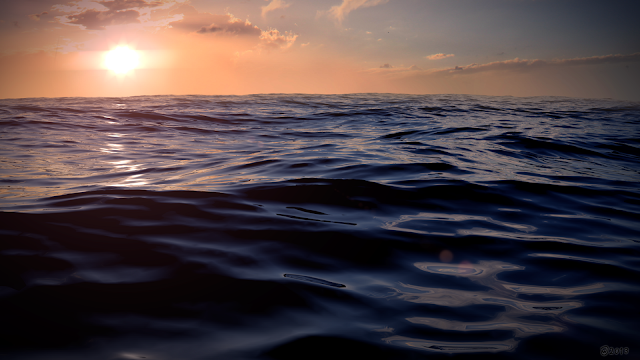 |
| Ocean. Larger waves. This looks much better when animated, but haven't had the time to render it. |
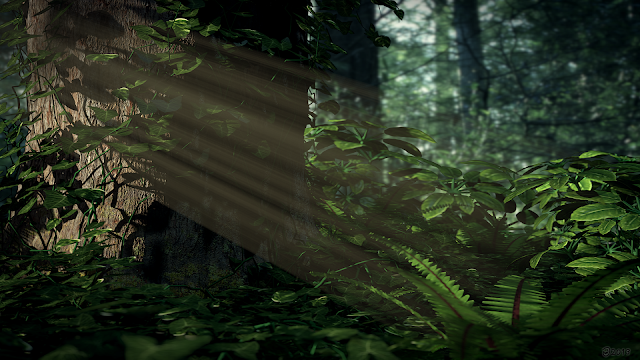 |
| Plants. Lots of plants. Practiced modeling various plants and used ivy generator. |
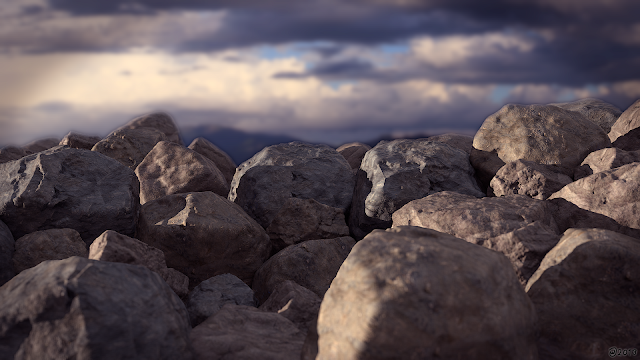 |
| Rocky coastline. These rocks are really nice. There's practically endless variations of them. These are really dense meshes, but could easily be baked into low poly rocks. |
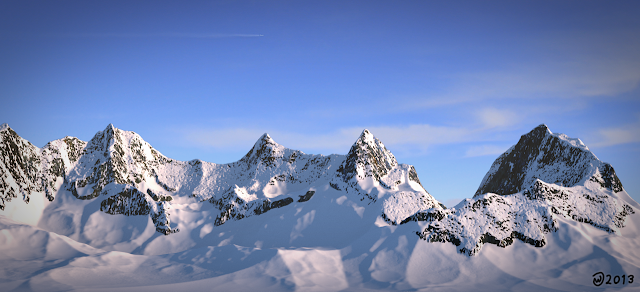 |
| Mountains. Practiced using ANT landscape generator to create... mountains! and also created snow / stone mix material. |
Shadow Warden (2012)
Shadow Warden Trailer from Noora H on Vimeo.
 |
| Light character's promo pose |
The whole process was very educational. If things can go wrong, they usually go etc... Although in the end the game worked relatively well. :) But yeah, it was interesting to find out the right workflows and techniques used in game development.
My main responsibility was modelling, rigging and animating the main "Light" character. I did this in Blender and then exported the model into UDK. I also modelled and textured few props and rendered promo images of the Light character.
Shadow Warden Light Character from Jarmo Wallenius on Vimeo.
We also had the chance to 3d print the character. I posed and modified the model to get it work properly with 3d printer. The model was hollowed and in two pieces so I could place two small batteries and led lamps in the model, thus lighting up the character from the inside. I still can't believe they let me do such complex electrical connections all by myself. Good thing I managed to complete the task without major injuries.
 |
| 3D-printed Light character with lights off and lights on. |
Tuesday, May 14, 2013
Mars Effect short film
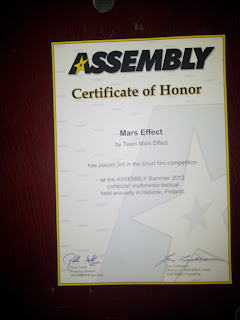 Mars Effect was one of our school projects and actually it was the first animated short I've been involved with. It's not perfect by any means but still, it was quite useful project to learn the process for creating such animations and to avoid the mistakes we did with this one.
The whole animation was made in Blender but some minor additional compositing was done in After Effects. As for my part in the process... I modelled the rocket, the flag and set up the simulation for it. I also animated a number of scenes, like the opening and closing scenes and many others.
We actually got third place in Assembly 2012 short film compo. That was rather interesting experience :) More information about the video can be seen on it's Vimeo page.
Here's a video showing some of the things I did for the animation.
My Mars Effect from Jarmo Wallenius on Vimeo.
Subscribe to:
Comments (Atom)

